Introduction: Navigating the Data Maze with Automation
Welcome to the world of data automation, where saving files isn’t just about clicking ‘Save As’ (again). Whether you’re a developer or an automation engineer, the necessity of maintaining secure and up-to-date backups for file management can’t be overstated. Ever faced the panic of a corrupted file or a critical system failure without a backup plan? Not my favorite scenario either. That’s why automating your backups is not just a good idea; it’s essential for data security and compliance.
In this tutorial, we’re diving into the incredibly useful process of automating backups from Dropbox to Google Drive using n8n. You might be asking, “Why Dropbox to Google Drive?” Well, who doesn’t like the comfort of knowing their files are safe in at least two virtual vaults? By the end of this, not only will you sleep easier knowing your data has another layer of protection, but you’ll also feel like a workflow wizard.
The Problem: Why Manual Backup is a Losing Game
Picture this: it’s the end of the quarter, and all your critical reports are stored on Dropbox. Then suddenly, account access issues arise, or worse, a sync error wipes out a vital folder. Sounds like a thriller novel, doesn’t it? The truth is, manual backups are prone to human error and are time-consuming, often making them unreliable. Depending solely on one cloud storage option is akin to keeping all your eggs in one basket.
In an era where data drives decisions, having automated and redundant backups isn’t just a tech-savvy choice; it’s a business-savvy one. Automating this process does more than just free up your time; it adds a security layer that manual processes can’t guarantee.
The Solution: Automating Backups with n8n
This is where n8n enters the scene like a superhero with a no-code cape. With n8n, you can create an automation that seamlessly transfers your Dropbox files to Google Drive, ensuring your data is duplicated in another secure environment. Not only does this mitigate the risk of data loss, but it also enhances security compliance effortlessly.
So, how does this dance between Dropbox and Google Drive happen? n8n allows you to set up workflows that automate this process with precision and customization. Want to follow along? Grab n8n [here](https://affiliate.n8n.io) and stow away those manual woes.
Preview: The Dropbox to Google Drive Automation Process
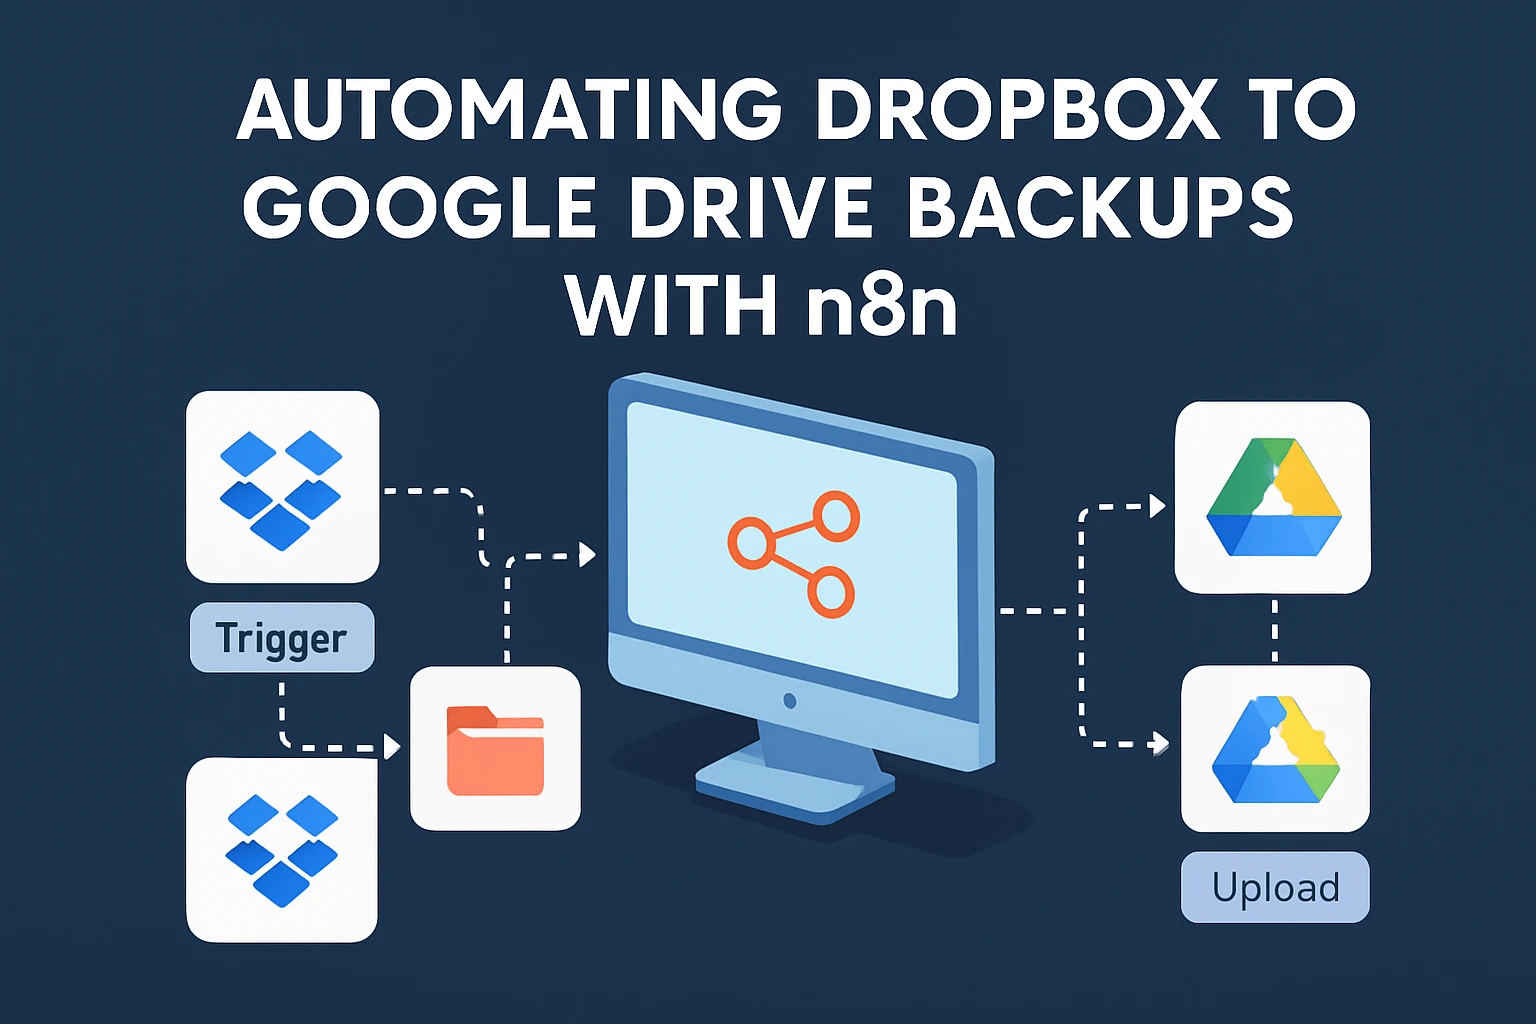
Let’s give you a sneak peek into how we’ll set this up. First, we’ll configure the Dropbox node to monitor a specific folder. Anytime a new file pops in there, our n8n workflow—like an eager relay race runner—will pick it up and move it to your Google Drive. Here’s what the process looks like in a simplified step-by-step:
- Set up n8n: Download and install n8n on your system or use the cloud version for convenience.
- Configure Dropbox Node: Connect to your Dropbox account and specify which folder to monitor.
- Set Up Google Drive Node: Connect to Google Drive and decide where the backups should live.
- Create the Workflow: Link these nodes in n8n, configure triggers, and let the automation magic happen.
This is just a taste of what you’ll be performing. The secret sauce is the flow and customization you can add to suit your business needs, all packaged in a user-friendly interface. And don’t worry, we’re throwing in a ready-made template, “Automated Workflow Backups to Google Drive,” to give you a head start. Download it [here](https://n8n.io/workflows/2983-automated-workflow-backups-to-google-drive/) and tweak as needed.
Ready to set your backup on autopilot mode while you focus on more important things (like binge-watching your favorite series guilt-free)? Then let’s dive deeper into the technical goodness.

Setup & Prerequisites: Ready, Set, Automate!
Alright, automation aficionados, let’s roll up our sleeves and get down to the nuts and bolts of this operation. Before we can bask in the glory of a finely-tuned automated workflow, we need to handle some setup basics. Consider this the groundwork that ensures your data can shuttle smoothly from Dropbox to Google Drive without hitting any unnecessary bumps. Trust me, a little prep work here saves a ton of debugging later on.
Getting n8n Ready for Action
Before diving into Google Drive and Dropbox, let’s ensure your n8n environment is all set. If you haven’t already installed n8n, you can either spin it up locally or use the cloud version (the latter is more straightforward for beginners). Whichever path you choose, make sure you’ve got access to its dashboard.
If you’re new to n8n, head over to [n8n installation guide](https://affiliate.n8n.io) to get your foundation ready. Quick pro tip: installation is smoother with Docker, especially if you’re looking to avoid any local configuration gripes.
OAuth2 Credential Setup: Unlocking Integration
Integrating with Dropbox and Google Drive safely and securely involves OAuth2 credentials—essentially keys to access your data while ensuring everything stays under your control. You’ll need to do this once for each service. Let’s break it down:
Setting Up Dropbox Credentials
- Create a Dropbox App: Go to the Dropbox App Console. Click on ‘Create App’, select ‘Scoped Access’, then ‘Full Dropbox’ (or ‘App Folder’ if you’re feeling cautious).
- Generate OAuth2 Credentials: Note down the App Key and App Secret. These will act as your OAuth2 credentials in n8n.
- Configure Scopes: Ensure you check the necessary scopes for file access. Typically, ‘files.content.write’ and ‘files.content.read’ will suffice.
- Enter Credentials in n8n: In your n8n dashboard, go to ‘Credentials’, select ‘Dropbox’, and enter your App Key and Secret.
Setting Up Google Drive Credentials
- Create a Google Cloud Project: Head to the Google Cloud Console, create a new project, and enable the Google Drive API for it.
- Configure OAuth Consent: Navigate to the ‘OAuth consent screen’, fill in the app information, and save.
- Generate OAuth2 Credentials: Click on ‘Credentials’, select ‘Create Credentials’, and choose ‘OAuth Client ID’. Grab the Client ID and Client Secret.
- Integrate with n8n: Add these credentials into your n8n dashboard under ‘Google Drive’. Ensure your scopes match your requirements, similar to Dropbox.
Initial n8n Configurations
With your OAuth2 credentials primed, it’s time to fine-tune your n8n settings to ensure a smooth workflow setup:
- Check Node Versions: Ensure that your n8n instance is up to date. This can prevent potential compatibility issues with new API features.
- Test Connections: Always test your credential setups within n8n to catch any problems early on. This is a step where ‘trust but verify’ is definitely the motto.
- Setup Workflow Template: Making use of existing frameworks, such as our “Automated Workflow Backups to Google Drive” template [download here](https://n8n.io/workflows/2983-automated-workflow-backups-to-google-drive/), can save significant setup time. Import the template and ensure your nodes reflect your newly created credentials.
Now that everything’s prepped, our workspace is clear for action. We’ve got the credentials, the configurations, and the tools at hand. Next up, we’ll dive into the specifics of building your workflow magic. But first, pat yourself on the back for correctly setting up those integrations. Wasn’t that just a little fun?

Core Implementation: Building Your Automated Backup Workflow
Alright, automation engineers, ready to bring the magic alive? Here’s where the rubber meets the road. We’re about to create a complete workflow in n8n that will automagically transfer your files from Dropbox to Google Drive. Once you’ve set this up, it’s off to the races, automating your backups effortlessly. Let’s dive right in and get our hands dirty!
Step 1: Start with the Basics – Set Up Your Trigger Node
The trigger node is like the bell announcing the start of operations. For our workflow, the Dropbox Trigger node will be our starting point. Here’s how you set it up:
- Add a New Node: In your n8n dashboard, add a new node and select ‘Dropbox Trigger’. This will listen for new files in your desired Dropbox folder.
- Configure Details: Specify the folder you want to monitor. Set the actions to watch for, such as ‘File Created’ or ‘File Updated’. This ensures the workflow kicks in with each new addition or update.
Step 2: Retrieve and Refine – Process Your Dropbox Files
Once the trigger detects a new file, we need to process and prepare it for Google Drive. This is achieved with the Dropbox Download node:
- Add Dropbox Download Node: This node will use the file ID from the trigger to download the file.
- Link to Trigger: Ensure the data from the trigger node flows into the download node seamlessly. It’s like handing off a baton in a relay – smooth and swift.
Step 3: The Big Transfer – Upload to Google Drive
Now to the climax – the transfer to Google Drive using the Google Drive node:
- Add Google Drive Node: Select ‘Upload File’ in node actions. This tells n8n what to do with our downloaded file.
- Configure Upload Details: Specify the folder location in your Google Drive. Make sure your nodes are connected – the file from Dropbox needs a smooth route into Google-land.
Step 4: Error Handling – Keeping the Workflow Robust
No workflow is perfect the first time, but we can make ours tough by setting up some error handling. Think of it as adding airbags to your data shuttle.
- Add a Set Node for Errors: Use a ‘Set’ node to handle outputs when things go off-course. This acts as a contingency for unspecified file errors or network issues.
- Create a Branch with Execute Conditional: Depending on the success or error status, use an ‘IF’ node to branch the workflow. This lets you have dedicated paths for success or error handling.
Step 5: Notifications – Always Stay in the Loop
You’d want a notification system that lets you know if the backup was a success, or if it needs attention. Enter the Email Node to the rescue:
- Set Up Email Notifications: Attach an ‘Email’ node to the ‘IF’ conditions for both success and error paths. Personalize your email inputs, so you know the file names and statuses.
And there you have it—your full-fledged automated backup process, humming smoothly like a well-oiled machine. Each step is crucial for ensuring seamless data movement and operational resilience, from start to finish. If you’re a fan of taking shortcuts in a smart way, the ready-made template “Automated Workflow Backups to Google Drive” is [available here](https://n8n.io/workflows/2983-automated-workflow-backups-to-google-drive/). Import it into n8n, tweak it to perfection, and voila!
Feel like a tech sorcerer yet? With this setup, you’ve not only automated a key business process, but also stepped up your game in data security and compliance. Cheers to smoother backup journeys!

Advanced Configuration & Security: Fine-Tuning and Fortifying Your Workflow
Strap in, folks! Your automated backup workflow is humming along, but now it’s time to take it from good to elite with advanced configurations and enhanced security measures. Imagine your setup as a high-performance machine—tuning it will make your workflow not only faster but also more secure. Let’s get our hands on some sophisticated tooling!
Optimizing Workflow Scalability
Your workflow might start with a few files, but what happens when it scales up? Here’s how to keep performance sharp:
- Batch Processing: Instead of processing each file individually, consider batching them. Use a ‘SplitInBatches’ node to handle files in groups. This reduces overhead and API calls simultaneously. Set batch sizes based on your current needs, adjusting as scalability demands.
- Scheduling: Schedule your workflows during off-peak hours. Not only can this help in avoiding rate limits, but it also frees up bandwidth for more crucial peak-time operations.
Best Practices for Securing API Credentials
Your API credentials are like keys to your cloud kingdom, so safeguarding them is paramount:
- Environment Variables: Utilize environment variables to store credentials. This keeps sensitive information out of your code and logs, adding a security layer against potential breaches.
- Credential Rotation: Regularly rotate your API keys and secret credentials. This ensures that even if credentials are compromised, they become obsolete quickly.
- Least Privilege Access: Grant the minimum permissions necessary. Analyze each role and only allow access to data essential for your operations.
Managing API Rate Limits
API rate limits are those useful little boundaries that keep services from overload but can also be pesky barriers when missed. Here’s how to work with them, not against them:
- Use Retry Logic: Add retry logic in your nodes. Set nodes to hold off for a specified time before retrying after hitting a rate limit. This keeps your process smooth without overwhelming the API server.
- Throttle Requests: If you foresee a large volume of data, implement request throttling. This slows down your queries to comply with the rate limits effectively.
- Monitor Through Logging: Enable extensive logging to detect and adapt to rate limit messages instantly. Logs will provide insights into when requests are made and when limits are reached or breached.
Advanced Data Transfer Security
Compromising security isn’t an option when transferring sensitive data. Here’s your playbook:
- Use Encrypted Connections: Ensure connections use TLS for data in transit. This is standard, but confirming configuration correctness is crucial.
- Secure Webhooks: If your workflow exposes any webhooks, verify they are secure. Implement signing secrets or OAuth mechanisms to validate legitimate requests.
- Regular Audits: Schedule regular audits of your workflows to check for vulnerabilities and update security protocols as necessary.
Troubleshooting and Common Pitfalls
When issues arise, a calm and methodical approach to troubleshooting will save the day:
- Scenario Testing: Run scenarios with sample data to predict potential issues. While live data might be sprawling, controlled tests pinpoint edge cases more effectively.
- Version Control: Keep track of workflow versions. Having easy access to previous configurations speeds up rolling back when new changes cause disruptions.
And there you have it. With these practices, your workflow isn’t just operational; it’s battle-ready for scaling, highly secure, and responsive to variations in demand. Leveraging these advanced configurations and security protocols will not only optimize your workflow but will provide peace of mind. Want a jumpstart? Check out the [“Automated Workflow Backups to Google Drive” template](https://n8n.io/workflows/2983-automated-workflow-backups-to-google-drive/) for ideas on integrating these features directly. Go conquer those data challenges!

Testing & Production Deployment: From Experiment to Execution
Congratulations, automators! You’ve navigated through tunnel after tunnel of nodes and workflows. Now it’s time to take our automation for a test drive before unleashing it on the world. Testing ensures that your workflow isn’t just operational but also robust enough to handle the highs and lows of real-world data traffic. Welcome to the final stretch: testing and deploying your n8n workflow securely into production.
Effective Testing Strategies
Jumping straight to production is like diving into a pool without checking the water temperature. Here’s how to avoid chilly surprises:
- Conduct Unit Tests: Test individual nodes with sample data to ensure that each function operates correctly. For example, verify the Dropbox download and Google Drive upload using controlled inputs manually set in the workflow triggers.
- Simulate Edge Cases: Introduce scenarios such as large files, unanticipated data formats, or network interruptions to test how well your error handling holds up. Improve your fail-safes based on these tests.
- User Acceptance Testing (UAT): It’s essential to get feedback from end-users who will regularly utilize this workflow. Their insights on usability and performance can catch issues you’ve missed.
Logging and Monitoring for Production
Now, onto keeping an eye on things. Because what use is a well-running car if you can’t tell when the oil needs topping up?
- Enable Detailed Logs: Within n8n, activate detailed logging on key nodes. This serves a dual purpose: troubleshooting errors and validating successful operations.
- Set Up Alerts: Configure notifications for specific events, like failed uploads or extraordinary processing times, to anticipate and act on issues before they grow.
- Implement Health Checks: Develop health check routines within the workflow to assess essential nodes and identify bottlenecks. Regular checks can preemptively detect and alert you about crashes or anomalies.
Deployment Strategies for Production
Let’s push this well-oiled machine into the real-world scenario where all functionalities should not just work but shine:
- Choose the Environment: Decide whether your deployment will remain on a local server, or—more practically for scalability—a cloud-based hosting solution. Tools like Docker can provide a consistent production environment.
- Automate Your Workflow Deployments: If changes are frequent, consider CI/CD pipelines for your automation setups. Tools like Jenkins or GitHub Actions can help deploy with minimal manual intervention and greater reliability.
- Backups Before Deploy: It might sound ironic, but always back up your current workflows and data states before deploying a new setup. This ensures a fallback if things don’t go as planned.
- Gradual Rollout: Launch your workflow with a staggered approach, starting from non-critical data sets, to safely judge stability and adjust settings if needed before full deployment.
Ensure a Smooth Transition
When your workflow goes live, it should be seamless. With your groundwork laid meticulously, simply oversee its operation for the initial period to ensure everything behaves as expected. The valuable data you’re handling deserves nothing but the best security and efficiency.
If you’re itching for a head-start and an illustrative preview of how everything should appear, take a close look at the [“Automated Workflow Backups to Google Drive” template](https://n8n.io/workflows/2983-automated-workflow-backups-to-google-drive/). It’s an ideal demonstration of all the skills and strategies discussed here—a solid foundation to model your ambitions upon.
So, ready to take that workflow of yours and make it soar? It’s a learning journey that will protect your organization’s vital information effortlessly, leaving you more time to focus on what truly matters. Time to celebrate being that hero who automated away those tedious hours and potential data disasters—well done!

Conclusion & Next Steps: Automating Your Path to Efficiency
And there you have it, folks! We’ve walked through the detailed setup required to automate backups from Dropbox to Google Drive using n8n, an impressive feat with tangible benefits. By now, you’ve configured nodes, tackled OAuth credentials, implemented error handling, and even set up notifications to keep tabs on your workflow’s health. All these steps collectively make your file management not just more reliable but also bullet-proof against the whims of manual errors.
The Big Wins of Automation
Why all this effort? Because the benefits are unmistakable:
- Time Efficiency: Automating routine tasks frees you and your team to focus on innovation rather than mundane backups.
- Data Security: Your files are now safe in two different cloud environments, reducing the risks of data loss or corruption.
- Operational Reliability: With automated error notifications and logging, keeping tabs on your workflow performance becomes effortless.
It’s not just about reducing workload—it’s about enhancing the reliability and security of your critical data. Plus, because automation with n8n can be easily scaled and adapted, the long-term savings in time and resources are significant.
Next Steps for Innovation and Growth
You’re ready to take this further. Consider these options for extension and experimentation:
- Advanced Notification: Integrate more advanced notification tools such as Slack or Microsoft Teams for real-time project updates.
- Advanced Data Processing: Include nodes that preprocess files, add metadata, or archive old versions.
- Expand to Other Services: Extend your automation to include other cloud services like AWS S3 or Azure, adding even more layers to your backup architecture.
Engaging with the n8n Community
Automation is a journey, not a destination, and community is right at the heart of this journey. The n8n community is a fantastic resource where you can exchange ideas, ask for help, and share your experiences. It’s a community-driven platform built to foster connection and collaboration among developers worldwide.
Feel empowered to not only use but also contribute. Submit feedback, suggest features, and don’t shy away from helping others who face the same challenges you’ve overcome. Want more templates to build upon? Explore the available workflows and see what nifty tricks others have neatly packaged for use.
Happy Automating!
Your new automation setup is a solid base to springboard projects that seem complex but are remarkably manageable with the right automation. Dive even deeper into the possibilities and carve out a data management system that’s genuinely forward-thinking and highly resilient. Happy automating!
🎁 Free n8n Workflow Template
Here’s a complete, working n8n workflow that implements everything we’ve covered:
{
  "nodes": [
    {
      "parameters": {
        "path": "endpoint",
        "httpMethod": "POST"
      },
      "type": "n8n-nodes-base.webhook",
      "name": "Webhook"
    },
    {
      "parameters": {
        "jsCode": "return [{ json: { message: 'processed', timestamp: new Date().toISOString() } }];"
      },
      "type": "n8n-nodes-base.code",
      "name": "Code"
    },
    {
      "parameters": {
        "respondWith": "json",
        "responseBody": "={{ $json }}"
      },
      "type": "n8n-nodes-base.respondToWebhook",
      "name": "Respond"
    }
  ],
  "connections": {
    "Webhook": {
      "main": [
        [
          "Code"
        ]
      ]
    },
    "Code": {
      "main": [
        [
          "Respond"
        ]
      ]
    }
  }
}
How to use: Copy the JSON above, go to your n8n instance, create a new workflow, and paste this JSON to import the complete setup.