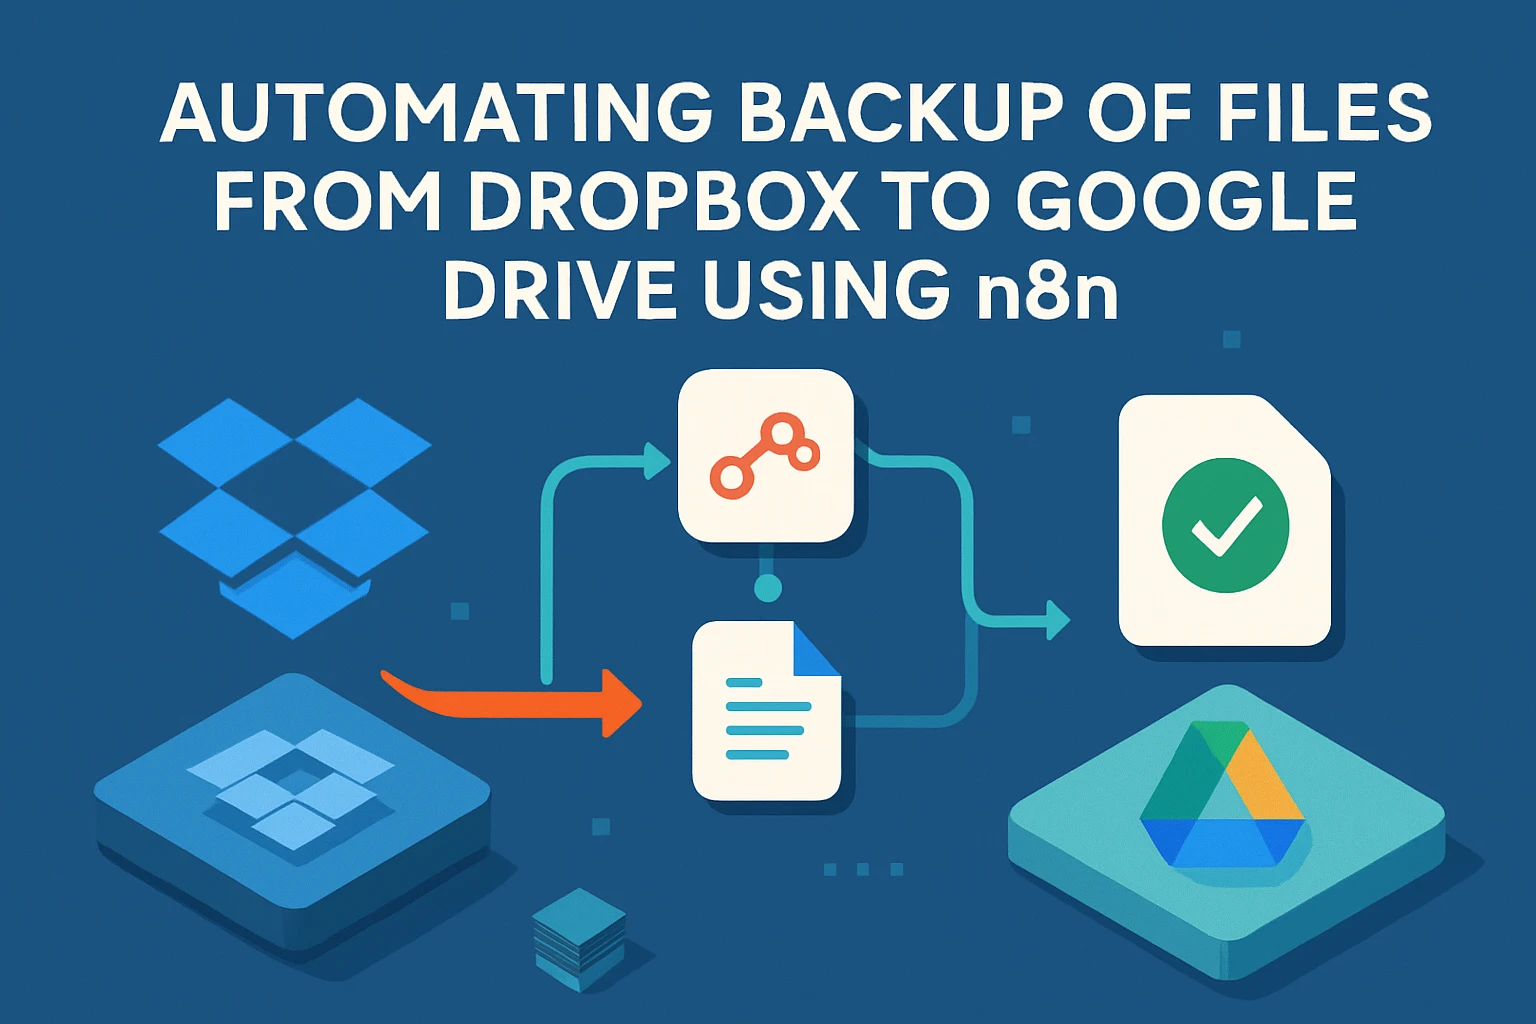
Introduction: Problem + Solution Preview
Picture this: You’ve just nailed a project presentation, and a client is thrilled with your brilliant work saved in Dropbox—only to discover the next day a mishap caused you to lose some essential files. Heart-stopping, isn’t it? That’s the nightmare scenario we’re here to prevent. Enter the hero of our story—data redundancy. It’s about ensuring that even if Murphy’s Law tries to ruin your day, you’ll have a backup plan ready. But, let’s face it; manually backing up files every single time is a task as exciting as watching paint dry. Luckily, automation comes to the rescue with our tech superhero: n8n. This nifty tool is perfect for setting up seamless workflows to automate your repetitive tasks, including backing up files.
Now, why is data redundancy so important? Well, think of your data as a rare collection of vintage vinyl records. You wouldn’t store them all in one place without a proper backup, would you? The same principle applies to your digital data. Redundancy enhances data security, ensures information resilience, and the best part—peace of mind. It’s a cozy safety net in the chaotic world of misplaced or corrupt data files.
Automation Overview
The magic of n8n lies in its ability to create automation workflows without writing a line of code. It’s like LEGO for automation geeks. You can cobble together multiple services and process data flowing through these nodes, tackling complex tasks like a pro. By automating the backup of files from Dropbox to Google Drive, you not only save time but also add an extra layer of security to your precious data. And there’s a brilliant template ready to jumpstart your journey. The Automated Workflow Backups to Google Drive template is a medium complexity preset that makes data redundancy as easy as pie.
n8n Solutions for File Backup
Using n8n to automate your backup processes involves connecting different nodes. Every node is a building block for your workflow that can perform tasks like retrieving files from Dropbox and uploading them to Google Drive. With this setup, you get a robust, automated backup system that runs like a well-oiled machine, ensuring you’re never caught off-guard by data loss.
Here’s a quick preview of how we’ll lay it all out:
- Step 1: Set up the Dropbox node to fetch files. We need to let n8n have a peek into your Dropbox, which sounds scarier than it is—more like giving your trusted friend a key to your spare storage room.
- Step 2: Use an If node to check for any updated or new files. This is where n8n gets smarter, knowing when to jump into action.
- Step 3: Add the Google Drive node to handle the actual backup. The files fly over the digital highway from Dropbox to your Google Drive, following n8n’s map to safety.
- Step 4: Schedule the workflow—because who wants to do anything manually if there’s an option to automate it?
Setting this up in n8n basically excels in efficiency and data security—it captures the essence of automation by removing tedious tasks from your plate. So let’s dive deeper and bring this workflow to life so you can enjoy uninterrupted coffee breaks while n8n diligently works in the background.
Curious already? Stick with us as we unravel the detailed steps and get your backup automation up and running. You’ll soon be able to say goodbye to the manual file transfer blues. And remember, if our pre-made n8n workflow template sounds as tempting to you as a chocolate croissant on a Friday morning, give it a download and start playing around right away!

Setup & Prerequisites
Before you start orchestrating your data symphony with workflows in n8n, let’s ensure you have everything set up just right. Think of this as properly tuning your instruments before a concerto performance. We’ll go through the required accounts, permissions, and tools needed to seamlessly automate file backups from Dropbox to Google Drive. The good news? It’s much easier than it sounds once you have the basics lined up.
n8n Installation Guidelines
First things first, n8n has to find a home on your computer or a server. Whether you’re trying n8n for the first time or looking to get it running on a new environment, you’ll need to pick an installation method that suits you. Here’s a quick rundown:
- Docker: If you’re a Docker fan, you’ll love that n8n has a ready-to-deploy Docker image. It’s as simple as running a `docker run` command. You can find detailed instructions here and be up and running in no time.
- Node.js and npm: Prefer the classic route? Install via Node.js using npm. Just ensure you’re running Node.js 14 or newer, so your scripts don’t act like divas refusing to play their part.
- Cloud Services: For those who prefer not to tinker with local setups, consider spinning up n8n using cloud services like Heroku or DigitalOcean.
Once installed, fire up your n8n instance. If you’re on Docker, it’ll automatically be served at `localhost:5678`. For other installations, just follow the prompts or your specific hosting setup instructions.
Dropbox & Google Drive Integration
Integration is the secret sauce that transforms your n8n workflows from concept to reality. To seamlessly move files from Dropbox to Google Drive, you need accounts and permissions for both services—and a little magic called OAuth2 to connect them.
1. Create Accounts:
- If you don’t have a Dropbox account, you can set one up swiftly at dropbox.com.
- Google Drive also requires an account. Head to drive.google.com to create one if you haven’t already.
OAuth2 Credential Setup
OAuth2 is like the backstage pass to interact with APIs in a secure manner. Here’s how you set up OAuth2 for Dropbox and Google Drive in n8n:
For Dropbox:
- Navigate to the Dropbox Developers page and create a new app.
- Select the Dropbox API and full Dropbox access options. Give your app a name—it doesn’t have to be fancy!
- Take note of the App key and Secret. In n8n, create new credentials under Dropbox using these keys. Make sure to enable OAuth2 authorization and set appropriate redirect URIs.
For Google Drive:
- Visit the Google Developers Console. Create a new project, and then enable the Google Drive API.
- Create credentials—the OAuth client ID. Don’t forget to configure the consent screen for your app.
- In n8n, enter these credentials under the Google Drive node, setting your OAuth2 to handle the authorization like a pro.
Setting up these connections might feel like a whirlwind at first, but you’ll find that they provide the smooth pipeline through which your data will flow. Now that you have n8n tuned and your OAuth2 passes ready, you’re equipped to dive into the actual creation of the workflow. The next step? Making sure your backup process is slicker than a secret agent on a day job.
If you need an accelerated start, don’t forget to check out our Automated Workflow Backups to Google Drive template. It’s like having a seasoned automator as your co-pilot.

Core Implementation: Main Workflow
Now that you’ve got the preliminaries like setup and authentication squared away, it’s time to roll up our sleeves and dive into our main course—creating the automated workflow to back up files from Dropbox to Google Drive using n8n. This section is where the magic happens. We’ll configure each node meticulously, ensuring that you end up with a workflow that’s as reliable as your favorite pair of sneakers.
Dropbox Node Configuration
First stop on our n8n adventure is configuring the Dropbox node. This node is your data concierge, fetching files from Dropbox with precision. Here’s how we set it up:
- Add a Dropbox Node: In your n8n editor, pull in a Dropbox node. This will serve as the starting point for accessing your files.
- Authenticate: Make sure the node is connected to your previously set up OAuth2 credentials. In the node, select your pre-configured Dropbox credentials. This is where those backstage passes we set up earlier come in handy.
- Choose an Operation: Set the operation to ‘List’. This allows you to iterate over files in a specific folder. Specify the path to the folder in Dropbox you want to back up. You can also configure to include file types if you want to back up specific file extensions.
- Error Handling: Set up error handling by enabling continue on error. It’s like having shock absorbers—when things go bumpy (and they will), your workflow won’t skid to a halt.
Google Drive Node Configuration
Once your files are selected and curated by your Dropbox node, we’ll need them whisked away to Google Drive for safe-keeping. Enter the Google Drive node:
- Add a Google Drive Node: Bring this node onto your canvas. It will receive the files and store them in the cloud.
- Authenticate: Similar to Dropbox, ensure this node is linked to your authenticated Google Drive credentials. Pick these from the credentials dropdown in the configuration panel.
- Select Operation: Configure the node for the ‘Upload’ operation. Here’s where we map the Dropbox files to Google Drive storage.
- Set Parameters: Set ‘File Name’ to reference the same from Dropbox using expressions. Choose the target folder on Google Drive. This helps maintain a tidy filing system.
- Option for Overwrite: Decide if files should be overwritten or skipped if they already exist. This prevents accidental overwrites or version chaos—choose wisely based on your needs.
Set Up Trigger Nodes Efficiently
No workflow is complete without an efficient trigger, like a great conductor to your data orchestra. Here’s how to set a trigger node that makes your workflow tick:
- Trigger Node: Use a Cron node to schedule when this workflow should run. You decide the intervals—daily, weekly, fortnightly. This is where your workflow gets its own calendar, automating itself into action at just the right moments.
- Configure Scheduler: Set specific times or dates for the backup. By setting these triggers, you can walk away with confidence, knowing the workflow’s picking up the slack on your behalf.
Workflow Design Best Practices
When designing workflows, keep these tips in mind to create robust and flexible automations:
- Descriptive Labels: Name your nodes descriptively, reflecting their roles. This makes debugging a soft breeze rather than a hurricane of frustration.
- Incremental Testing: Test each node incrementally. It’s like assembling furniture—ensuring each piece snaps in before moving to the next step avoids collapsing upon completion.
- Modular Design: Create your nodes in bits and bobs that can be reused in other workflows. Think of this as creating a Lego-building toolkit for your automation projects.
And that’s your core workflow implementation all set! Leverage this well-tuned automation dance to ensure data redundancy like a pro. Don’t forget to utilize our Automated Workflow Backups to Google Drive template for a head start. Simply load it, tweak it to your specs, and let n8n handle the chore while you enjoy a well-deserved coffee break. Get ready to kick back as this workflow diligently does its job without a fuss!

Advanced Configuration & Security
As we venture into the realm of advanced configuration in your n8n workflow, it’s time to talk about fine-tuning and safeguarding your automation masterpiece. We’re going to cover strategies to handle errors smoothly, set up notifications for workflow statuses, and employ performance optimization techniques that will make your workflow as efficient as a Swiss watch.
Error Handling Strategies
Ever tried building a Jenga tower? You know the foundation is as important as the tower’s height, and so is error handling in your n8n workflows. A robust error handling setup ensures that hiccups don’t bring the whole workflow tumbling down. Here’s how to make it bulletproof:
- Try-Catch Nodes: Incorporate Try-Catch nodes to elegantly manage errors that occur in specific parts of your workflow. These act like cushions that soften the blow of a fall, ensuring your automation recovers quickly.
- Error Workflow: Configure a separate workflow dedicated to handling errors. Use this to log errors or even send notifications. To set this up, leverage an “Error Trigger” node to capture errors from your main workflow.
- Continue on Error: For nodes processing less critical data, setting them to continue on error can be beneficial. It allows the rest of the workflow to keep running while you get alerted to the issue.
Error handling isn’t there to catch all possible problems but to ensure that when problems arise (and they will), your workflow can gracefully navigate them without a complete breakdown.
Notification Setup
Notifications are like gentle nudges reminding you of their presence, guiding you to take action if needed. They aren’t just for when things go awry; they’re also for celebrating success, mildly reminding you of a task well done. Let’s configure these notifications:
- Email Notifications: Set up an SMTP node to send emails. Configure it to notify you when a workflow succeeds or fails. This way, your email acts like a diligent postmaster, delivering workflow statuses on time, every time.
- Chat Integrations: For real-time alerts, integrate with chat platforms like Slack or Microsoft Teams. Use Webhook nodes to send status updates to your chat channels. It’s like receiving a courier directly where you hang out most.
- Notification on Success: Having notifications for successful runs gives you confidence that things are ticking along smoothly. Celebrate those wins!
Performance Optimization Tips
An efficient workflow reminds me of a finely-tuned race car—powerful and fast, yet mindful of fuel. Here’s how to keep your automation engine running smoothly:
- Node Minimization: Keep the workflow as lightweight as possible. Avoid unnecessary nodes, just like how unnecessary weight can slow down a race car.
- Parallel Processing: Use splitInBatches nodes to process large data sets in smaller chunks. This minimizes bottlenecks, ensuring smooth and fast processing.
- Avoid Redundancies: Use expressions and variables to avoid redundant actions. This adds both clarity and speed to your workflow, a winning combination.
- Regular Audits: Periodically review workflows. As your needs evolve, some steps may become obsolete or require updates.
Like any digital asset, our n8n workflows require regular check-ups and tuning. Implement the above strategies to maintain a workflow that is not only efficient but robust and secure.
By embedding error handling, notifications, and performance optimization into your workflow, you’re not just ensuring its functionality—you’re maximizing reliability and effectiveness, much like a maestro directs an orchestra. As you polish these aspects, don’t hesitate to peek at the Automated Workflow Backups to Google Drive template, which comes with a well-thought-out foundation that’s ready to scale.

Testing & Production Deployment
Welcome to the final stretch of setting up your automated file backup system from Dropbox to Google Drive! As satisfying as it is to build a workflow, the real triumph lies in its flawless execution. Testing and deploying your workflow is akin to taking a freshly designed airplane for its maiden flight. Let’s ensure it’s ready for takeoff without a hitch.
Testing Workflows
Before you bring your workflow to the masses (or at least anyone relying on the backup), it’s crucial to engage in thorough testing in a staging environment. Think of this as a dress rehearsal—it’s where you find out if the backup strategy jams along without hitting any false notes.
- Create a Staging Environment: Mimic your production environment by setting up a separate n8n instance or using a test environment. It’s your sandbox to play in without real-world consequences.
- Use Sample Data: Test the workflow using sample data identical in structure to the actual data. You want to ensure that If a variable trips, it’s only during rehearsal.
- Test Edge Cases: Test scenarios where things might go wrong—missing files, network issues, service timeouts. These are the workout drills for your workflow, preparing it for any eventuality.
- Iterate and Optimize: Use the test results to tweak and refine the workflow continually. It’s your chance to polish away any rough edges.
Testing isn’t just about finding problems; it’s about building confidence that your workflow will work as expected when it matters most.
Deployment Best Practices
Once testing gives you the green light, it’s time to move to production. Deploying your workflow should be deliberate and strategic to ensure long-term success and reliability.
- Incremental Rollout: Begin with a small scope and gradually expand. This minimizes risk and allows for quick adjustments based on observed performance and feedback.
- Documentation: Maintain thorough documentation of your workflow—steps, configurations, and changes. Think of it as the manual that helps everyone, including future you, troubleshooting more efficiently.
- Monitor Performance: Use n8n’s log features or an external monitoring tool to keep an eye on workflow performance continually. If anything falters or fails, you’ll be the first to know.
- Regular Updates: Check for updates in n8n and third-party API integrations. Keeping everything up to date is akin to updating your toolset with the latest gadgets.
The key to a successful deployment is having a plan—walk through it methodically, just like a pilot does with their pre-flight checklist.
Common Issues & Solutions
Even with the most meticulous testing and deployment, issues might pop up. Knowing common issues and their solutions can save you tons of time:
- Authentication Failures: Double-check your OAuth2 credentials are valid, and permissions are correct. If nodes fail to authenticate, it’s often an expired token or incorrect setup.
- API Limitations: Be aware of API rate limits for Dropbox and Google Drive. Spread requests appropriately to avoid hitting these limits.
- File Overwrites: Conflicts in file names can lead to accidental overwrites. Consider appending timestamps or maintaining a naming convention to avoid this.
- Network Reliability: Ensure stable network connections. Implement retries on network failures, as a temporary hiccup on the internet shouldn’t bring the workflow down.
Connecting with the n8n community can also be a valuable asset. Sharing experiences and solutions mutually enriches the user experience and is a great source of support when troubleshooting.
In conclusion, testing and deploying your n8n workflow require diligence and patience, but they’re rewarding processes that guarantee your data backup system is reliable and efficient. Providing a solid foundation of automation, you can rest assured, knowing that while you’re off the clock, n8n is hard at work keeping your data safe.
While we’ve crafted the workflow from start to finish, don’t forget there’s a ready-to-use template to aid your efforts. It’s a great resource to leverage, containing all the elements we discussed.

Conclusion & Next Steps
Congratulations on completing your journey into the world of automation with n8n! By now, you’ve transformed what was once a mundane file backup task into an efficient, automated workflow running from Dropbox to Google Drive. Let’s take a moment to recap and consider how we can make even more strides towards enhancing this process.
Recap of Backup Process
Throughout this tutorial, we’ve covered how to seamlessly set up a workflow in n8n to back up files from Dropbox to Google Drive. We started by configuring nodes to handle file retrieval and storage, moved on to trigger setups that ensure these processes run automatically and backgrounded, and included tips and strategies for error handling and notification setups. Through each step, we’ve seen how n8n can become a powerful ally, taking routine tasks off your plate and giving you peace of mind with reliable backups that run like clockwork.
Implementing these automation techniques not only secures your data in multiple locations but also frees up valuable time, allowing you to focus on more strategic tasks. Who knew automation could be so liberating, right?
Future Improvement Strategies
Now that your workflow is up and running, consider where you might take it next. Here are a few forward-looking strategies to enhance your workflow:
- Multi-Destination Backups: Extend your backup strategy to include other cloud services or local storage. It’s like diversifying an investment—it spreads the risk and maximizes security.
- Data Transformation: Before storing backups, consider adding nodes to transform or analyze data. This can help streamline files for easy retrieval or add intelligence to your storage practices.
- Access Control: Review and optimize access permissions and security settings, ensuring the right people have access to the right data without compromising security.
- Scale and Optimize: Increase efficiency by exploring parallel processing or reducing node usage, especially as data volume grows.
Community Resources
Your learning doesn’t stop here. The n8n community is a vibrant space full of shared knowledge and collaborative growth. Here are some ways to stay connected and continue learning:
- n8n Forum: Join discussions on the n8n Community Forum, where automation enthusiasts and experts share tips, troubleshoot issues, and inspire with creative automations.
- n8n Documentation: Dive deeper with the n8n Documentation, a treasure trove of detailed guides and references for every node, feature, and capability.
- Workflow Templates: Explore a vast library of workflow templates to spark new ideas and find pre-built automations you can adopt and adapt.
- Social Media and Blogs: Follow n8n on social media platforms for updates and insights. Check out automation and tech blogs for the latest trends and advanced topics.
A well-constructed workflow is just the beginning. As you enhance your processes and grow in your automation journey, always remember the power of the community and resources at your fingertips. The automation world is vast and full of potential—happy automating!
🎁 Free n8n Workflow Template
Here’s a complete, working n8n workflow that implements everything we’ve covered:
{
  "nodes": [
    {
      "parameters": {
        "path": "endpoint",
        "httpMethod": "POST"
      },
      "type": "n8n-nodes-base.webhook",
      "name": "Webhook"
    },
    {
      "parameters": {
        "jsCode": "return [{ json: { message: 'processed', timestamp: new Date().toISOString() } }];"
      },
      "type": "n8n-nodes-base.code",
      "name": "Code"
    },
    {
      "parameters": {
        "respondWith": "json",
        "responseBody": "={{ $json }}"
      },
      "type": "n8n-nodes-base.respondToWebhook",
      "name": "Respond"
    }
  ],
  "connections": {
    "Webhook": {
      "main": [
        [
          "Code"
        ]
      ]
    },
    "Code": {
      "main": [
        [
          "Respond"
        ]
      ]
    }
  }
}
How to use: Copy the JSON above, go to your n8n instance, create a new workflow, and paste this JSON to import the complete setup.