Introduction: Navigating the Seas of Automated Backups
Picture this: It’s a regular Tuesday, and your team just pulled an all-nighter finishing a crucial project. After hours of manual file transfers between Dropbox and Google Drive because Murphy’s Law decided to visit (yet again), you think, “There must be a better way.” Spoiler alert—there is. And today, we’re diving into it. We’re talking about automating those tedious file backups with the help of n8n. Fancy, right?
If you’re anything like me, you’ve probably spent too many late nights manually backing up files, convinced that something’s bound to disappear into the digital ether if you don’t. Yet, manual processes come with their own pitfalls—human error, mistimed uploads, or the ever-dreaded “out of space” notification from your cloud storage while you’re at your kid’s soccer tournament. So, let’s unravel why automating backups is a game changer and catch a preview of the wizardry we’re about to unleash with n8n.
The Problem: Manual Backups Are So Last Decade
Let’s get real for a minute. Manual backups are not just troublesome; they’re a potential threat to data security and reliability. I mean, remembering to manually sync your Dropbox with Google Drive is a task straight out of a project management horror movie. Miss one step, and you can kiss that file organization goodbye. Not to mention the time wasted waiting for uploads and downloads, and the frustration of realizing at the last moment that you’ve been backing up the wrong files (ouch!).
Not only does this interfere with productivity, but it also introduces unnecessary risk. Imagine losing crucial business files or, worse, discovering only a partial backup has been completed. I’ve learned the hard way that the true cost of a manual backup process is much more than just time—it’s peace of mind. That’s where automation swoops in with a cape.
Solution Overview: Meet Your New Best Friend, n8n
Enter n8n, the unsung hero of the automation world. This flexible, user-friendly workflow automation tool can take charge of your backup processes seamlessly. If you’re serious about enhancing data security, then automating your file backups is an absolute no-brainer. With n8n, we’re not just automating this task; we’re optimizing it.
The Automated Workflow Backups to Google Drive and Auto Workflow Backup to Google Drive templates are your golden tickets. These pre-built gems are designed to streamline backup processes by setting up workflows that handle everything for you while you sip on your well-deserved coffee.
- Automated Workflow Backups to Google Drive – This beautifully crafted template tackles automatic backup head-on, ensuring your files are secure and accessible.
- Auto Workflow Backup to Google Drive – A nifty solution for those who frequently oversee large sets of files, ensuring comprehensive backup coverage with ease.
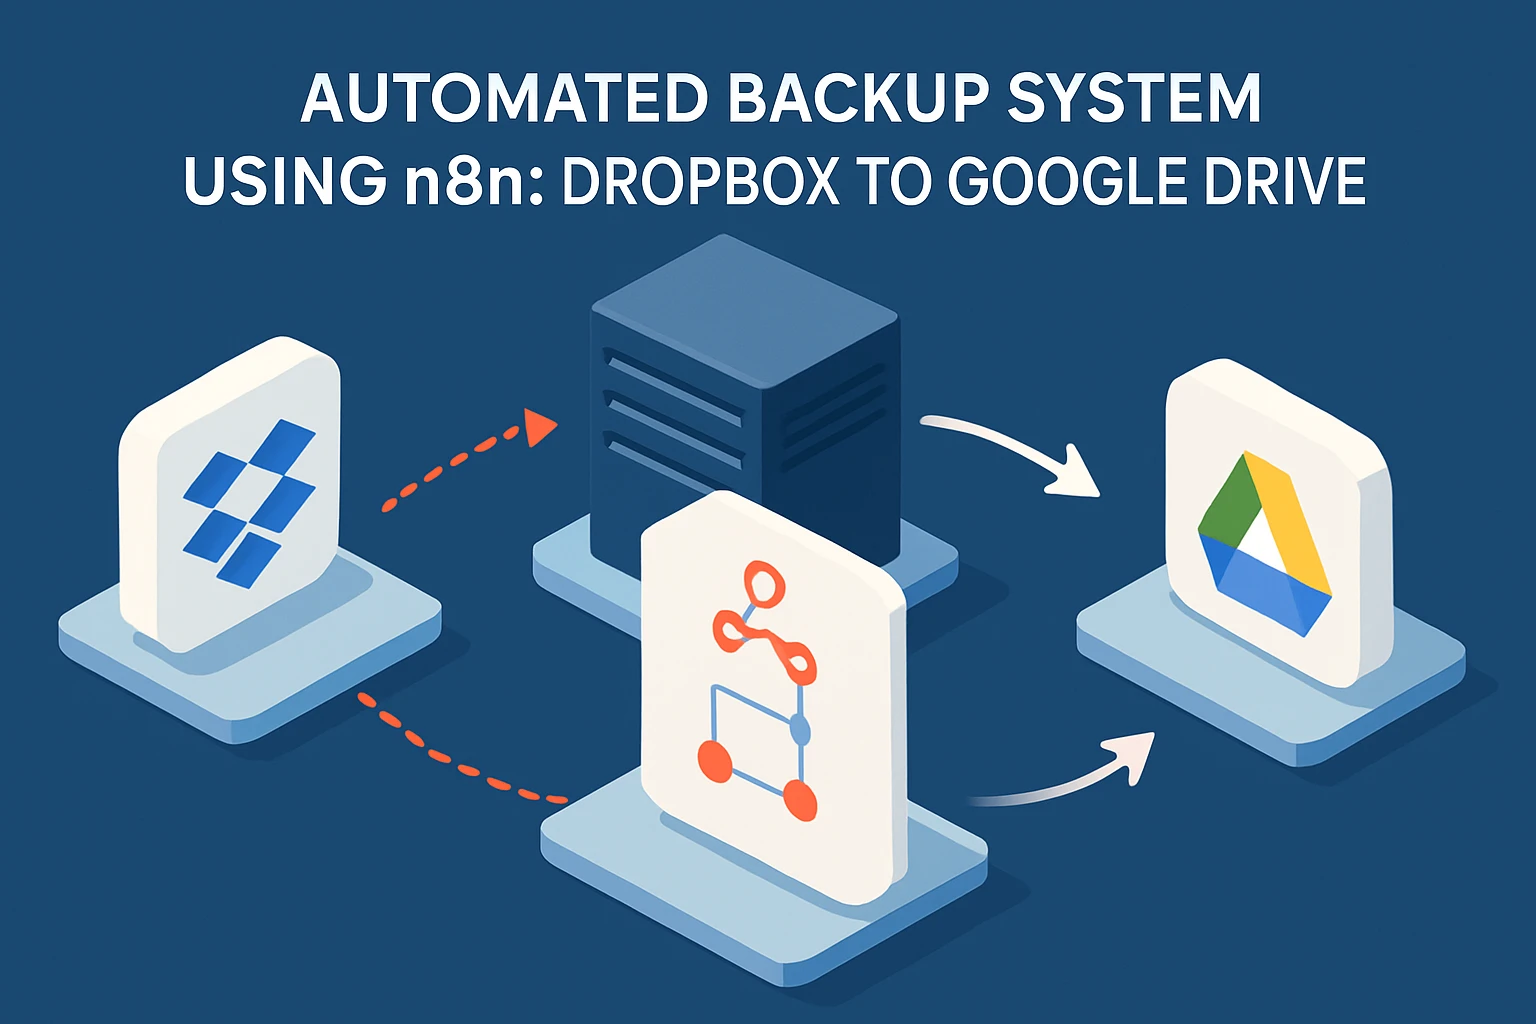
Imagine setting up a workflow that ensures every file that lands in a specific Dropbox folder gets whisked away to Google Drive automatically. You’ll wake up each day to freshly backed-up files, knowing everything is safe and sound. We’re going to build just that!
What You’ll Learn
This tutorial is crafted for all you automation enthusiasts (and manual task sufferers) out there. By the end, you’ll not only understand the ins and outs of automated backups but also gain the skills to employ n8n’s powerful features to execute these processes flawlessly. We’re aiming to arm you with a practical, implementable backup system that’s both secure and dependable.
So, dust off your automation gloves and get ready to liberate yourself from the repetitive clutches of manual backup hell. With n8n, you’re not just saving time; you’re safeguarding the integrity of your precious data.
Setup & Prerequisites: Getting Ready to Automate
Okay, team! We’re ready to roll up our sleeves and dive into setting up our automated backup system using n8n. In this section, we’ll make sure you have all the necessary tools and accounts at your disposal, ensure n8n is properly configured for a smooth ride, and prepare those magic templates for action. Let’s remove the stumbling blocks so nothing stands between you and your automation prowess.
Must-Have Tools and Accounts
Before we dive headfirst into the ocean of automation, let’s gather our essentials. Much like packing for a trip, you’ll thank yourself later for careful preparation.
- n8n Account: Head over to n8n.io and create an account if you haven’t signed up already. Trust me, this is your gateway to endless automation possibilities.
- Dropbox Account: Make sure you have an active account. If you’re still rocking the free version, ensure you haven’t exceeded your storage limits.
- Google Drive Account: Much like Dropbox, a Google account is crucial. You’ll want ample storage space to house your backup files.
Configuring n8n Credentials
Time to link up your n8n workflow with Dropbox and Google Drive. This is where the magic of credentials comes into play. Think of them as the backstage passes n8n needs to access and play with your data.
Setting Up Dropbox
- From the n8n dashboard, navigate to Credentials.
- Click New Credential, then select Dropbox.
- For Dropbox, we’re using OAuth2 to give n8n access to your files. Click OAuth2 and follow the prompts to authenticate your account. You’ll grant permissions for Dropbox to n8n—which is pretty harmless, I promise.
- Once authenticated, ensure you save your credentials. You’ll see them securely stored in your n8n credentials list.
Setting Up Google Drive
- Again, in n8n’s Credentials section, create a new credential, but this time select Google Drive.
- Choose OAuth2 as your authentication method, and click through the prompts to authenticate against your Google account.
- Approve the required permissions, ensuring that n8n can access, upload, and manage your drive files automatically.
- After completing the process, save your credentials just like we did with Dropbox.
One tiny “gotcha” to look out for: Ensure you’re signed into the correct accounts during authentication. I’ve learned from dubious trial and error—wrong credentials can throw a real wrench in your workflow.
Template Preparation: The Presto, Change-o!
With our credentials set, we’re ready to prepare those exquisite pre-built templates. Templates save you time by providing a platform that’s ready to deploy and customized to appear oh-so magical with n8n at the helm.
- Download the Automated Workflow Backups to Google Drive template and have it handy.
- Similarly, grab the Auto Workflow Backup to Google Drive template. These beauties come with intermediate complexity, but since you’re already rocking through this tutorial, I have no doubts you’ll manage them effortlessly.
- Once downloaded, import these into your n8n setup. Go to your n8n dashboard, click on Workflows, and hit the Import button. Choose your downloaded file, and voila!
By now, you’ve laid down the groundwork. You’ve got your accounts ready, your credentials intact, and your templates prepped and primed for action. In the next section, we’re going to fire up n8n and get those workflows singing in tune with your new automation setup! Stay tuned, automation ace, your masterpiece awaits.
Core Implementation: Building Your Main Workflow Masterpiece
Are you ready to construct the core of your automated backup system? We’ve got our setup primed from previous sections, and now it’s time to bring it all together into a synchronized symphony. Whether you’re a seasoned developer or an automation engineer itching to streamline your processes, this step-by-step guide will get you connecting Dropbox and Google Drive nodes seamlessly within n8n. Let’s dive in!
Step 1: Connecting the Dots—Node Configuration
We’ll start with the basics: setting up the necessary nodes. This is where droplets of automation magic begin to sparkle, transforming mundane tasks into automated workflows.
Configuring the Dropbox Node
- Within your n8n workspace, drag and drop a Dropbox Node onto the workflow canvas. You’ll find it under the Nodes panel if you type in “Dropbox.”
- Click on your newly added node, and set the Operation to List. This operation will comb through your specified Dropbox folders and generate a list of files to be backed up.
- In the credentials section, choose the Dropbox credentials we set up back in the Setup & Prerequisites section. If you can’t find them, double-check that your credentials are saved properly.
- Specify the Folder Path—this is the Dropbox folder where your files will originate from. Got your files nestled under “/Project Documents”? Use that path.
Configuring the Google Drive Node
- Drag a Google Drive Node onto the same workflow canvas. Get cozy with that multitasking! You’re going to connect this node with the Dropbox one.
- Set the Google Drive node Operation to Upload. You’re essentially telling n8n to take files from Dropbox and push them into Google Drive.
- Select your Google Drive credentials. Remember our trusty OAuth2 handshake from earlier?
- Define the upload destination in the Folder ID field. You might need to hop over to Google Drive to grab the specific folder ID—it’s pretty much copy-paste magic.
From here, you should start seeing the connection forming. Dropbox supplies the list of files, and Google Drive steps in to ensure they’re meticulously uploaded into their new home.
Step 2: Bridging the Nodes
Time to connect those nodes so they communicate! Much like in a good conversation, the right connections are paramount:
- Click and drag from the output node of Dropbox to the input of Google Drive. This link is the secret sauce initiating the file transfer.
- Ensure your Google Drive node is properly configured to handle files listed by Dropbox. You might need to map specific output fields from Dropbox to the input fields of Google Drive, so they play nicely.
Step 3: Schedule Your Automation
No more late nights manually handling backups. We’re setting this workflow on autopilot by establishing a schedule:
- Add a Cron Node, which will act as your scheduling mechanism.
- Configure it to trigger at a preferred frequency. Want your backups every night at 2:00 AM? Set it up accordingly using the Cron expression syntax, like “0 2 * * *” for daily 2 AM triggers.
- Connect the Cron Node to your Dropbox Node to initiate the workflow sequence.
That’s it! You’ve hooked up your Dropbox and Google Drive to dance in harmony—one lists files, the other uploads them on cue. This robust workflow will ensure your critical files automatically find their safety deposit box in the cloud every time.
Next up, we’ll refine and put your workflow through its paces with a test run in the validation phase, ensuring your setup withstands the intricacies of real-world demands. Flex those automation muscles, because you’re bringing efficiency to life!
Advanced Configuration & Security: Keep Your Automation on Lock
Welcome to the advanced section, where the real magic happens. You’ve got your backup workflow running, but to make it bulletproof, we need to consider some extra layers—think of these as the armor and longevity enhancements for your workflow. We’re diving into error handling, securing OAuth2 credentials, and optimizing performance for those gargantuan datasets that occasionally pop up to challenge your systems.
Error Handling: The Safety Net You Need
Have you ever tried debugging a broken workflow at 2 AM? Fun times, right? To avoid that scenario, we’ll focus on setting up error handling. Errors are inevitable, but with the right strategies, we can preemptively manage them before they escalate into system-wide headaches.
- Add an Error Trigger Node to your workflow. This node will automatically capture any errors occurring in your process, acting as your first line of defense.
- Connect it to a Notification Node (like Email or Slack) so that you receive timely alerts whenever there’s an error. Being informed means you can jump in before things spiral out of control.
- Utilize Function Nodes to customize error messages. A brief but detailed message can help you (or your future self) diagnose the problem without breaking a sweat.
By embedding error handling into your processes, you create a resilient system that can handle unexpected disruptions gracefully, minimizing downtime and maintaining data integrity.
Security Best Practices for OAuth2
Your workflows involve accessing sensitive data across platforms, so security is paramount. Ensuring that your OAuth2 credentials are used securely is non-negotiable. Here’s how to lock them down:
- Environment Variables: Whenever possible, store sensitive credentials in environment variables instead of hardcoding them into your workflows. This separation enhances security by keeping your data detached from the application code.
- Access Scopes: Reduce the risk of data breaches by granting the minimum permissions necessary for your application to function. You probably don’t need access to everything—limit the scopes to specific folders or actions.
- Regular Credential Rotations: Regularly update and rotate your OAuth2 credentials to keep them from becoming vulnerable over time. Consider automating this process if possible to ensure it’s not overlooked.
Security isn’t just about internal peace of mind—it’s about maintaining trust with stakeholders and clients whose data you handle.
Performance Optimization: Handling the Giants
Does your workflow occasionally slow to a crawl under a massive dataset? Let’s talk about squeezing more efficiency from your systems:
Batch Processing for Speed and Efficiency
- Introduce a SplitInBatches Node to your workflow. This node will allow you to break down large datasets into manageable chunks, reducing memory usage, and preventing timeouts.
- Integrate Wait nodes as needed to stagger tasks and reduce bottlenecks. While it may lengthen total runtime, it ensures a smoother operation without hiccups.
Splitting data into batches isn’t just about performance—it’s about creating a sustainable process that won’t topple like a house of cards under pressure.
Validating Your Setup
Once these configurations are in place, conduct a test run. Create sample data that mirrors your real-world use cases, and watch as your workflow handles the mundane and unexpected alike. Verify that error messages are clear, notifications arrive swiftly, and your application doesn’t just survive but thrives under load.
Setting these advanced features isn’t just a precaution—it’s a necessity for any business conscious about maximizing both performance and security. Your workflows should be as robust as they are useful, and with these additions, your beloved automation suite will remain vigilant and reliable.
There you have it, this section rounds out our automation journey. Keep these configurations in your arsenal, and protect the integrity of your hard-won automated systems!
Testing & Production Deployment: From Workshop to the Real World
You’ve built, configured, and polished your workflow system for automating backups between Dropbox and Google Drive. Now, it’s time to think about putting it into action. Testing in a staging environment and planning for a seamless production deployment are crucial steps. And let’s not forget about keeping a keen eye on your deployed workflows to ensure they run as smoothly in production as they do in your test runs.
Testing in a Staging Environment
Before your workflow gets its moment in the spotlight, it’s got to pass an audition in a less pressured environment—that’s where staging comes in.
- Create a Staging Workflow: In n8n, clone your main workflow and label it clearly as “Staging” to avoid any real-world mix-up. Adjust this cloned workflow to send notifications or write logs indicating it’s in test mode (no actual data is harmed in the making of this work).
- Use Sandbox Accounts: Configure your workflow to use sandbox or test accounts for Dropbox and Google Drive to ensure no actual data transactions are happening during testing. These accounts mimic real-world conditions without real-world consequences.
- Run Comprehensive Tests: Manually trigger your staging workflow and review the logs to verify accuracy and performance. Focus on scenarios where things could go awry—think skipped uploads, incorrect file paths, lost connections, and how your error handling tackles these shifts.
Staging is your chance to play the script backwards, forwards, and sideways to ensure robustness before the curtain lifts on the main act.
Production Deployment Strategies
Feeling confident about performance in staging? Great! Let’s get your workflow ready for the big leagues in production.
- Backup Before Launch: Before implementing any new workflow in production, back up existing workflows and configurations. This ensures you have fallback options if anything unexpected transpires during deployment.
- Gradual Rollout: Consider deploying gradually. Start with a subset of your data or operations to gauge real-world performance and adjust configurations as necessary.
- Real-Time Monitoring: Immediately after deployment, monitor the workflow’s performance in real-time. Use n8n’s built-in logs and third-party tools like Grafana and Datadog to gather insights on workflow execution, error rates, and any potential bottlenecks.
- Automate Alerts: Set up automated notifications for any anomalies or high-priority errors. Email, Slack, or other incident response channels are excellent choices to keep communication channels open and responsive.
Deploying carefully prevents those heart-sinking moments and supports a stable transition, ensuring your automation delivers superb results from the get-go.
Monitoring and Managing in Production
Once live, consistent monitoring and management routines are key to maintaining a reliable system.
- Implement Health Checks: Schedule periodic health checks to ensure connectivity and execution are up to standard. This can be accomplished through regular manual reviews, but better yet, automate them using additional n8n workflows designed for diagnostics.
- Analyze Performance Metrics: Keep an eye on execution times, load averages, and error logs to proactively identify and address inefficiencies. Adjust batch sizes and scheduling intervals if performance dips.
- Revisit OAuth Credentials Regularly: Stay vigilant about your security protocols, updating OAuth credentials and permissions as needed to secure data access.
Maintaining a solid foundation involves scrutinizing the nitty-gritty, so don’t shy away from tweaking and optimizing based on performance data.
You’ve successfully navigated testing and deployment—where your strategic foresight pays dividends in peace of mind and operational efficacy. Now watch your n8n-backed automation thrive, freeing you from tedious tasks and amplifying efficiencies across your organization.
Conclusion & Next Steps: Your Automation Odyssey
Congratulations, automation aficionado! You’ve made it through the journey of setting up an automated backup system from Dropbox to Google Drive using n8n. Let’s take a moment to reflect on what you’ve achieved and explore some next steps you can take to further customize and enhance your workflow.
Key Takeaways
Automating file backups not only enhances data security but also enables you to reclaim countless hours otherwise spent on manual tasks. You’ve learned to:
- Configure n8n by setting up essential integrations with Dropbox and Google Drive, using OAuth2 credentials to ensure secure data transactions.
- Construct a robust workflow that connects the Dropbox node to list files and the Google Drive node to seamlessly upload them.
- Implement advanced configurations such as error handling and batch processing to manage real-world scenarios efficiently.
- Test the workflow in a safe staging environment before deploying it to ensure smooth, fail-safe execution in production.
Integrating these steps into your daily processes sets your workflow on a solid foundation. Should issues arise (and occasionally, they do), you’ve laid out protocols to solve them swiftly, keeping the gears of automation turning.
Further Customizations
While this tutorial provided you with the fundamental framework, the beauty of n8n lies in its flexibility and expansibility:
- Trigger Complexity: Add webhooks or various trigger nodes to kickstart the backup on specific events, like file alterations or uploads in Dropbox.
- Data Enrichment: Incorporate API calls within the workflow to enrich your data before backup. This could involve pulling metadata or adding tags.
- Extend Automation: Consider integrating other services you use daily, like Slack notifications on successful backups or integration with CRM tools.
Community Insights & Resources
Leveraging the vibrant n8n community can propel your automation skills further:
- Visit the n8n Community Forum to share insights, seek advice, or view creative implementations from other users.
- Join discussions in n8n’s Discord Channel, perfect for real-time brainstorming and cooperation on complex automation challenges.
- Watch tutorials and deep-dive sessions on YouTube to continuously refine your understanding of the platform’s diverse capabilities.
Future Scalability
As your automation needs grow, consider scalability approaches:
- Upgrade your n8n installation to handle increased volumes effectively. Monitoring tools integrated into your system allow for the dynamic scaling of resources.
- Explore advanced data transformations and workflow automation logs to understand process trends and optimize long-term performances.
In summary, the steps you’ve taken here have not only established a robust automated backup system but also peaked curiosity to pursue deeper automation possibilities. Keep experimenting and enhancing—you’re on a path to transforming mundane tasks into executed grandeur.
🎁 Free n8n Workflow Template
Here’s a complete, working n8n workflow that implements everything we’ve covered:
{
  "nodes": [
    {
      "parameters": {
        "path": "endpoint",
        "httpMethod": "POST"
      },
      "type": "n8n-nodes-base.webhook",
      "name": "Webhook"
    },
    {
      "parameters": {
        "jsCode": "return [{ json: { message: 'processed', timestamp: new Date().toISOString() } }];"
      },
      "type": "n8n-nodes-base.code",
      "name": "Code"
    },
    {
      "parameters": {
        "respondWith": "json",
        "responseBody": "={{ $json }}"
      },
      "type": "n8n-nodes-base.respondToWebhook",
      "name": "Respond"
    }
  ],
  "connections": {
    "Webhook": {
      "main": [
        [
          "Code"
        ]
      ]
    },
    "Code": {
      "main": [
        [
          "Respond"
        ]
      ]
    }
  }
}
How to use: Copy the JSON above, go to your n8n instance, create a new workflow, and paste this JSON to import the complete setup.
Your journey doesn’t end here—this is just the beginning of creating smart, efficient systems with n8n. Onward and upward!


